Deploying to Kubernetes

In this chapter we will push our newly built application to Kubernetes. If you don’t have a Kubernetes instance at your disposal, you can create a free Openshift Sandbox instance on developers.redhat.com/sandbox.
| You will need a public container registry to store your image. If you don’t have an account, we recommend to create a free account at http://quay.io. |
Our examples will be using the quay.io container registry and the myrepo organization, but you should change it to match your configuration.
Adding the Kubernetes and Jib extensions
In this chapter we’ll be using the Quarkus Kubernetes Extension to create the Kubernetes deployment file, and the Quarkus Jib Extension to create and push the container image to your container registry without the need of a local podman/docker instance.
Let’s add the required extensions:
Adding the configuration properties
Add the following properties to your application.properties so that you can push the container to the correct location:
# Configuration file
# key = value
greeting=Hello y'all!
quarkus.datasource.jdbc.url=jdbc:h2:mem:default
quarkus.datasource.db-kind=h2
quarkus.hibernate-orm.database.generation=drop-and-create
quarkus.hibernate-orm.sql-load-script=import.sql

quarkus.container-image.registry=quay.io(1)
quarkus.container-image.group=myrepo(2)
quarkus.container-image.name=tutorial-app(3)
quarkus.container-image.tag=1.0-SNAPSHOT(4)
quarkus.kubernetes.service-type=load-balancer(5)| 1 | Registry where image is pushed. By default this is Docker Hub. |
| 2 | Group name of the container image. |
| 3 | Container name. By default is the artifactId element of pom.xml. |
| 4 | Tag of the container image. By default is the version element of pom.xml. |
| 5 | Create an external ip for the service. |
Change quay.io to your container registry and myrepo to your organization.
If you don’t, your push will fail.
|
Authenticating and pushing the image to your container registry
In order to push the container image, you need to authenticate to your container registry:
docker login quay.ioNow we’re going to create the artifact, build a container and push it to our registry in one go using jib.
./mvnw quarkus:build -DskipTests -D"quarkus.container-image.push=true" -D"quarkus.container-image.builder=jib"quarkus image build jib --no-tests -D"quarkus.container-image.push=true"| If you’re having trouble with jib, you can also just use Docker/Podman to build & push. To do so, omit 'jib' from the command. |
[INFO] [io.quarkus.container.image.jib.deployment.JibProcessor] Using base image with digest: sha256:b459cc59d6c7ddc9fd52f981fc4c187f44a401f2433a1b4110810d2dd9e98a07
[INFO] [io.quarkus.container.image.jib.deployment.JibProcessor] Container entrypoint set to [java, -Dquarkus.http.host=0.0.0.0, -Djava.util.logging.manager=org.jboss.logmanager.LogManager, -cp, /app/resources:/app/classes:/app/libs/*, io.quarkus.runner.GeneratedMain]
[INFO] [io.quarkus.container.image.jib.deployment.JibProcessor] Pushed container image quay.io/myrepo/tutorial-app:1.0-SNAPSHOT (sha256:6651a2f85f8f53ef951b3398d00f1c7da73bd0e8b21f87584d5a1c0e99aae12c)

[INFO] [io.quarkus.deployment.QuarkusAugmentor] Quarkus augmentation completed in 14804ms
[INFO] ------------------------------------------------------------------------
[INFO] BUILD SUCCESS
[INFO] ------------------------------------------------------------------------
[INFO] Total time:  20.431 s
[INFO] Finished at: 2020-05-11T00:05:25-04:00
[INFO] ------------------------------------------------------------------------
Deploy the application to your Kubernetes cluster
When a Kubernetes extension is present in the classpath, Quarkus will scaffold a Kubernetes deployment file in your target folder during the package phase. We can apply it to deploy the application to our Kubernetes cluster:
You will need the kubectl or oc cli tool installed locally for the apply command below. Here are instructions to install the oc tool and log in to your Openshift Sandbox. Hint: your favorite package manager (dnf/brew/choco) can likely be used for the installation. Eg. dnf install kubectl or choco install kubernetes-client or choco install openshift-client
|
kubectl apply -f target/kubernetes/kubernetes.ymloc apply -f target/kubernetes/kubernetes.ymlservice/tutorial-app created
deployment.apps/tutorial-app createdWith the Quarkus CLI tool deploying is even easier. Instead of the above kubectl apply command, you can simply run quarkus deploy to deploy the application to your cluster. If you don’t have the kubectl or oc cli installed or are not sure how to log in to your cluster, just add -Dquarkus.kubernetes-client.api-server-url={yourServerUrl} -Dquarkus.kubernetes-client.token={myToken} to the below command.
quarkus deployAfter the command has finished, you might need to wait a few more seconds until your application is up and running. Once it is, let’s get the url to test. (command prompt and powershell users will need to tweak these commands a little bit)
If using a hosted Kubernetes cluster like OpenShift (Sandbox) on AWS then use curl and the EXTERNAL-IP address with port 8080 or get it using kubectl:
IP=$(kubectl get service tutorial-app -o jsonpath="{.status.loadBalancer.ingress[0].hostname}")
PORT=$(kubectl get service tutorial-app -o jsonpath="{.spec.ports[0].port}")
echo $IP:$PORT
IP=$(minikube ip)
PORT=$(kubectl get service/tutorial-app -o jsonpath="{.spec.ports[*].nodePort}")
echo $IP:$PORTIf using a hosted Kubernetes cluster like OpenShift then use curl and the EXTERNAL-IP address with port 8080 or get it using kubectl:
IP=$(kubectl get service tutorial-app -o jsonpath="{.status.loadBalancer.ingress[0].ip}")
PORT=$(kubectl get service tutorial-app -o jsonpath="{.spec.ports[*].port}")
echo $IP:$PORT
Curl the Service:
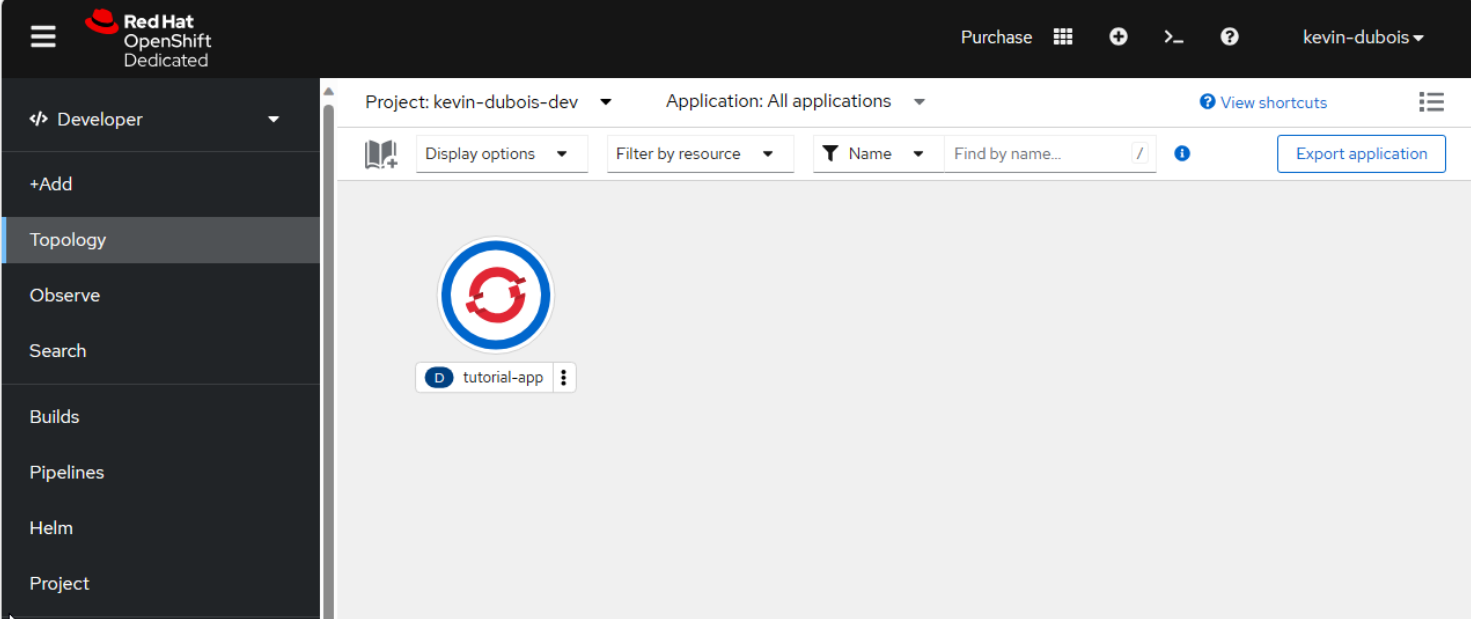
curl $IP:$PORT/helloHello y'all!If you’re using the Openshift Sandbox UI, you can also find the application running in the "Topology" view as seen in the screenshot below: